The human heart, a marvel of engineering, is a complex organ that tirelessly pumps blood throughout the body. Understanding its anatomy is essential for appreciating its function and the vital role it plays in sustaining life. In this DIY project, we will guide you through the creation of a simple yet informative heart model that will allow you to hold the intricacies of cardiac anatomy in your hands.
Materials Needed:
- Red and blue play dough
- Toothpicks
- Craft foam or construction paper
- Markers
- Scissors
- Glue
- Small plastic container
Procedure:
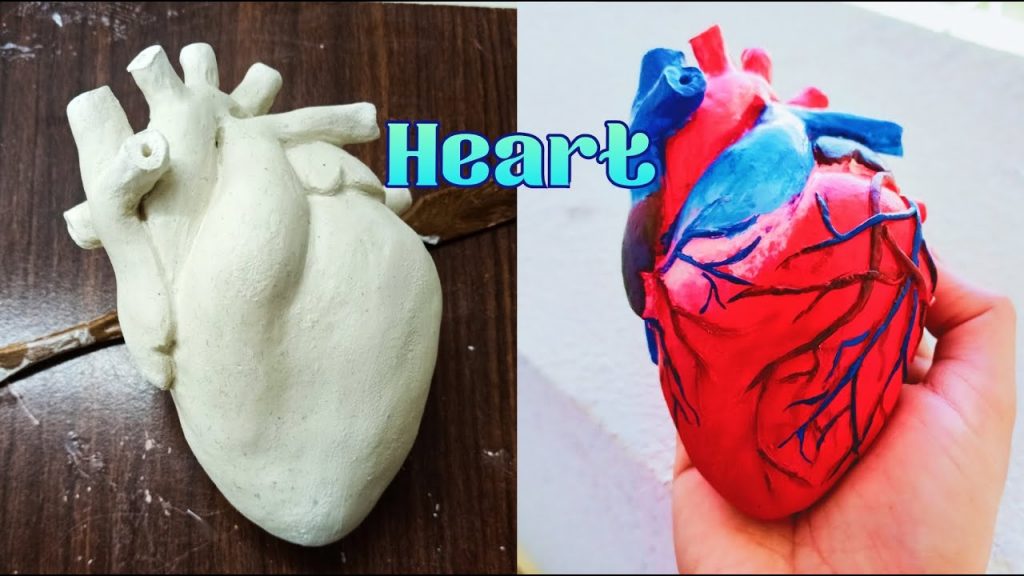
Base of the Heart – Start by molding the red play dough into a roughly heart-shaped structure. This will serve as the base of DIY heart model. Ensure that it is large enough to represent the actual size of a human heart.
Chambers and Vessels – Divide the heart into its four chambers – two atria and two ventricles. Use blue play dough to create the atria on the top of the heart and the ventricles at the bottom. Insert toothpicks to represent the major blood vessels, such as the superior and inferior vena cava, pulmonary artery, and aorta.
Valves and Septum – Cut small pieces of craft foam or construction paper to fashion the heart valves. Attach these valves at the appropriate locations using glue. Create a thin divider to represent the septum that separates the left and right sides of the heart.
Labeling – Enhance the educational value of your DIY heart model by labeling the different components. Use markers to add names to the chambers, vessels, and valves. This step reinforces your understanding of cardiac anatomy.
Connective Tissues – Sculpt small strands of play dough to represent the tendons and ligaments that hold the heart in place. Attach these strands to the base of the heart and the valves, emphasizing the importance of these connective tissues in maintaining the heart’s structure.
Plastic Container Display – Place your completed heart model in a small plastic container filled with clear gel or water to simulate the environment within the pericardium. This addition provides a visual representation of the protective sac surrounding the heart.
As you hold your DIY heart model in your hands, you gain a tangible appreciation for the intricacies of cardiac anatomy. The combination of colors, textures, and labels transforms a basic play dough project into a powerful learning tool. By creating each component and assembling them into a cohesive model, you engage multiple senses, enhancing your understanding of how the heart works. This hands-on approach to learning fosters a deeper connection to the subject matter. As you explore the chambers, valves, and vessels of your DIY heart model, you are not just studying anatomy you are actively participating in the learning process. So, go ahead, elevate your understanding of the human heart by bringing it to life in the palm of your hands.